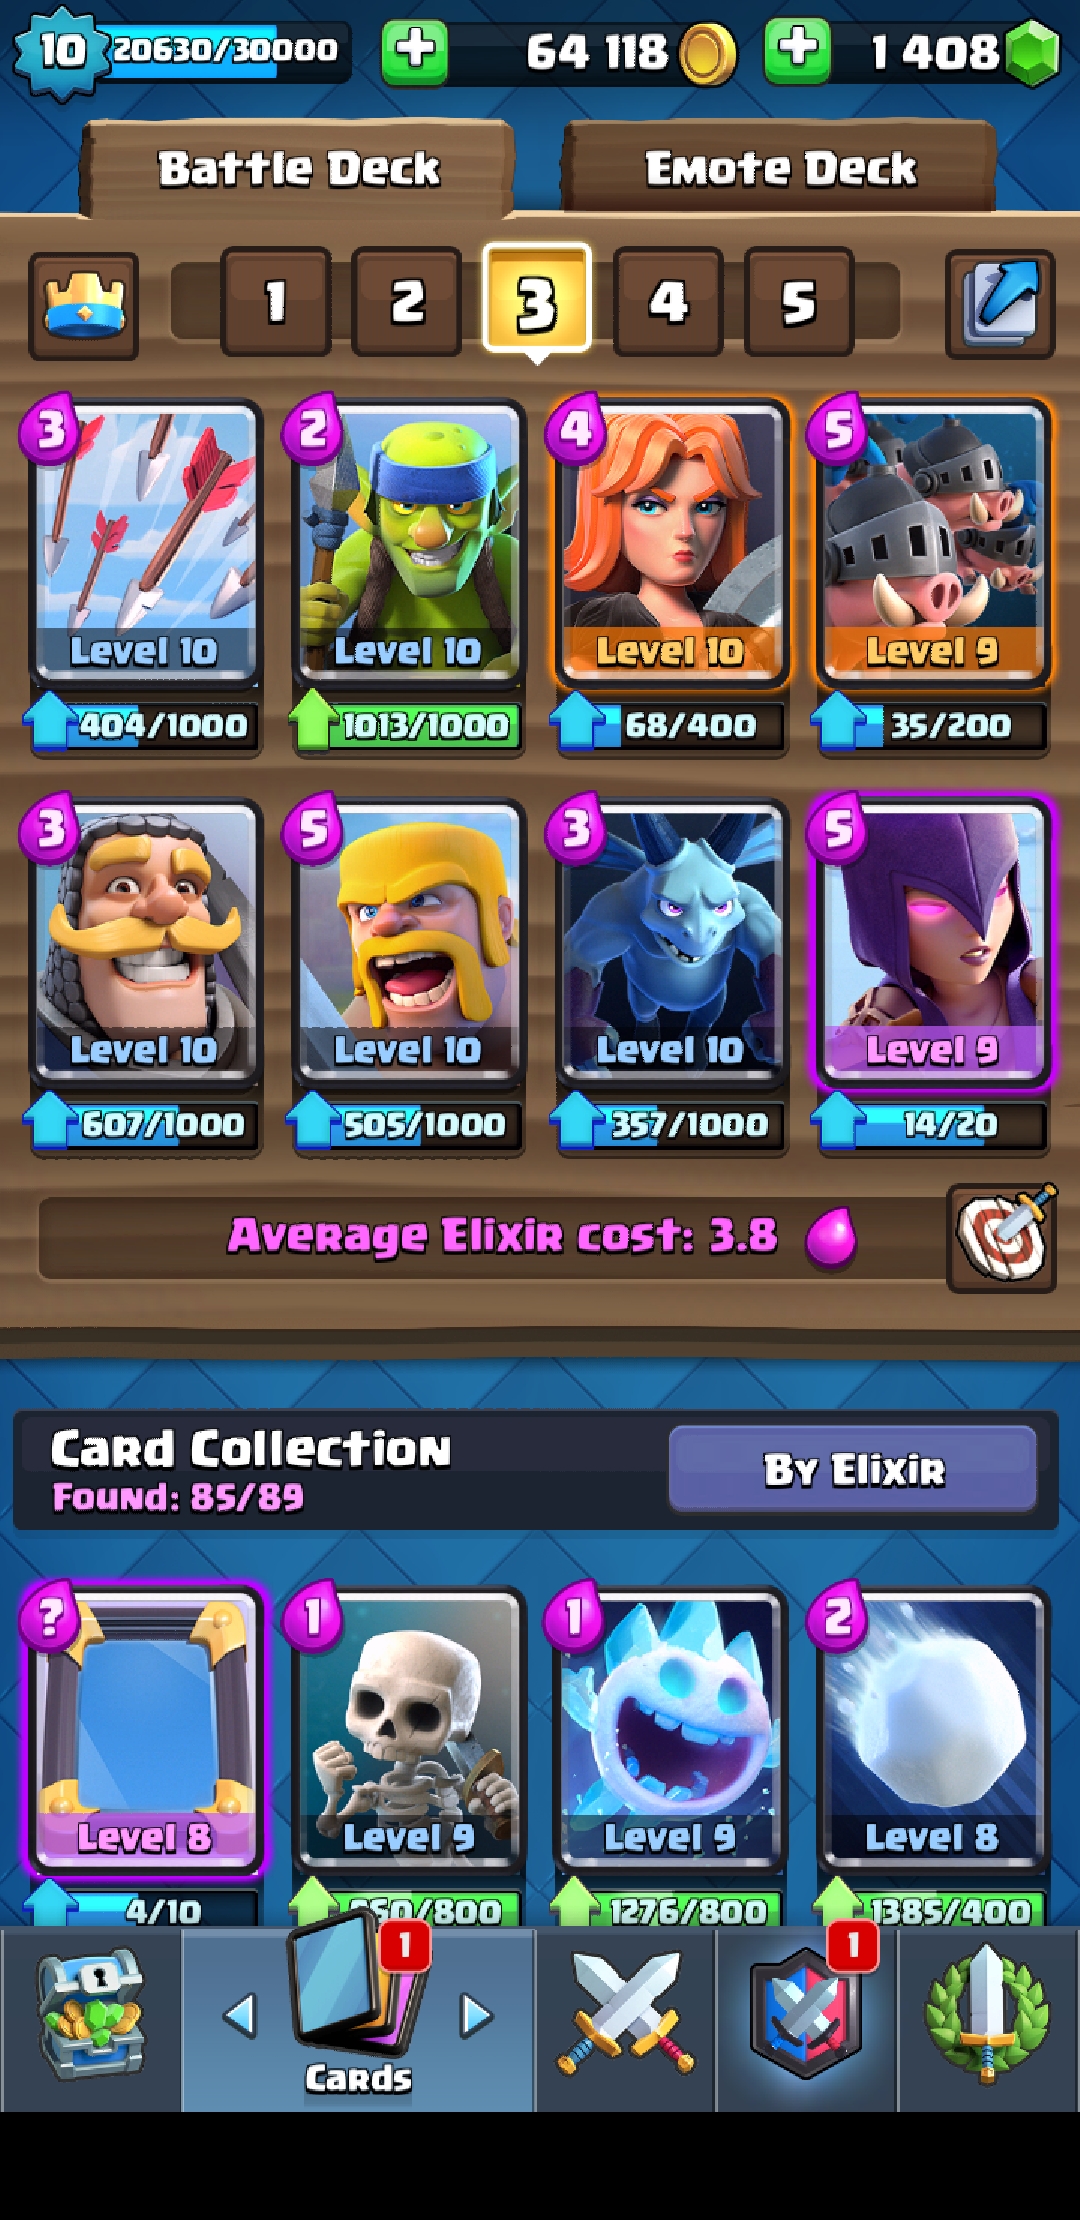
Clash Royale Battle Deck #3 - Bacon to the Rescue!

RIDING THE ROYAL HOGS WITH MY 3rd FAV DECK

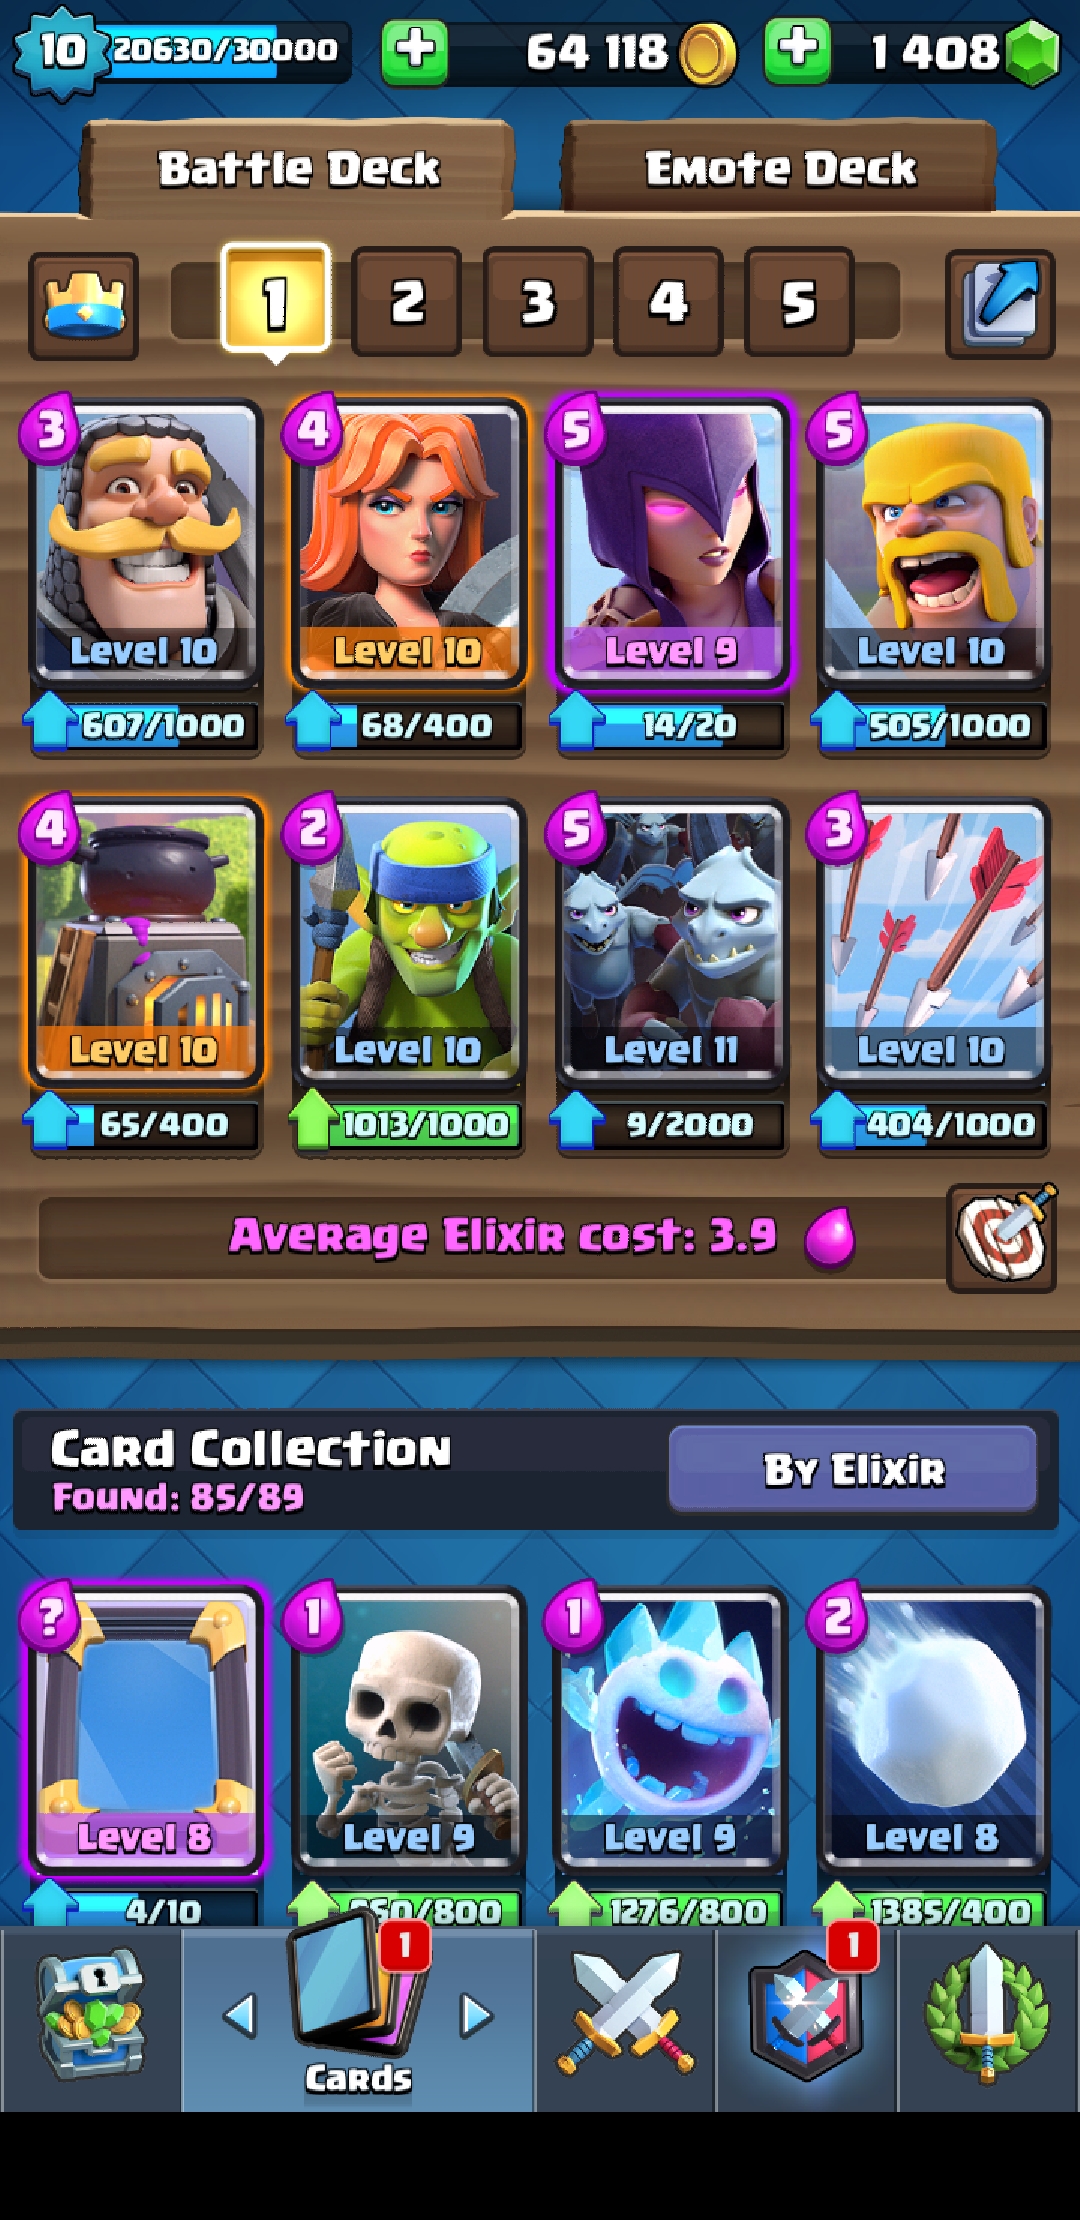
Deck 3.jpg

This is Battle Deck #3 that helped me to light it up on my way through the Royal Arenas. It was a combination of classic cards along with a new card at the time, the Royal Hogs.

I absolutely created mayhem with this deck, leveling my opponents with relative ease. What I found that worked best was opening with a decoy, or a cover, and then unleashing the Royal Hogs to take down that first Princess Tower in a blink.

The first rendition of the Royal Hogs was nearly unstoppable. It was a little bit unfair for those who had to go up against them, because they were set to levy massive damage really quick, and their hit points were super high.

My favorite opening was Spear Goblins, then releasing the Hogs right behind them. Reason being, they were the lowest elixir cost to provide somewhat of a distraction, just enough for the hogs to get through and do their thing.

The second best opening was Barbarians, and then Royal Hogs. If the opponent sat on their haunches waiting for your first move, this was the best way to play it. If they wasted time waiting, losing valuable elixir use, this was a great punishment. The only disadvantage was burning through all ten elixir points at once.

The third best use is opening with the Witch down in the farthest corner behind the Princess Tower, giving her time to hatch as many skeletons as possible before unleashing the hogs. This one takes a little bit more time to develop, so there’s no “shock & awe” effect. But it worked equally as well.

The reason why I chose the Minions over the Minion Horde in this deck was all about managing that elixir cost. With a cost of 3 versus 5, the smaller Minion bunch was just enough to provide that backup protection after wasting 8 to 10 elixir on releasing the Hogs with cover.

Sadly, the November 5th Balance Update leveled the playing field and took away 6% of the damage for the Hogs. That doesn’t sound like much, but it made a huge difference in stopping their onslaught. Plus they made them “lose weight”. Slimming down the hogs took away their ability to easily push defenders out of the way during their stampede.

The Royal Hogs are still quite a formidable weapon, but I had to put them aside and wait to level them up to a 9 before I was able to put down the damage like I did before the balance update. I’ve since moved on from the Royal Hogs and have replaced this card with yet another formidable weapon, but I won’t reveal that until after I finish my series covering the classic first five battle decks!

Let me know what you think of the hogs in the comments below, and share with me how YOU use them best to knock down those towers!

Carlton Flowers
Royal Hog Farmer
The Clash Strategy That Everyone Uses, & How You Can Beat It!

The Fatal Flow of The Most Common Clash Strategy

Strategy Buster.jpg

Ever since I have been playing this game, I have noticed that the majority of people deploy the same tactic at the beginning of the game… and it’s a strategy that is tirelessly overused.

It’s the classic “wait-till-your-opponent-makes-the-first-move” strategy. And the funny thing is, 90% of the people who do this will play the Wizard card right after you drop your first attacker.

This frustrated me for quite some time, until I figured out how to get around it and dominate the boring people who use this constantly. But before I give you my best response to fight the “wait-till-they-go-first” tactic, let me tell you why you can expose and defeat your opponents when they deploy this method.

Plain and simply, the waiting tactic is the worst way to manage elixir. The minute you hit ten, you deploy SOMETHING, and keep on moving. The longer your opponent waits to see what you’re going to play, the more of a disadvantage they will be in.

Sure, they might have the advantage by playing the Wizard who can roast your offensive before they get a hit in. But my method of fighting this will solve that problem, and put you at an advantage.

The best way combat this tired old strategy is to drop the Barbarians right behind your King Tower, splitting them into 2 groups. When your opponent plays the Wizard card, 2 of your Barbarians will get roasted. But you can deploy a backup to the Barbarians on the other lane, and they will have a great chance of dealing out some significant damage while you’re building up more elixir to drop a defense card on the Wizard when he crosses the bridge.

If you don’t have the Barbarians available in your opening 4, you can use the Guards. Another method that will work is dropping the Knight in one back corner, and another low-cost elixir card in the opposite corner. This will give your opponent a “pick-your-poison” type of situation to deal with.

The key is to use as many low-cost elixir cards as possible while your opponent sits and waits to see what you are playing. 3/4ths of the time, I am able to defeat my opponents who sit and wait, if my deck is lined up just right. As long as I can keep the elixir cost low right out of the gates, I’m at an advantage.

I’d love to hear your opinion about how YOU bust the “wait-till-they-go-first” strategy, or how well you do using MY method. Chime in below in the comments!

Carlton Flowers
Clash-Buster Extreme

Clash Royale Battle Deck #2 - This One Was On Fire!

My Second Deck Strategy & Why It Worked Well

Deck 1.jpg

Here’s the second Battle Deck in my evolution of Clash Royale. Of course it’s listed as #1, but that’s because my favorite deck was positioned in the middle of the then three decks… for no reason whatsoever, of course!


Let’s talk about the cards that made this combo work so well, starting with my favorite-ever, the Knight.

Combining the Knight with a building worked so well with my first deck, I had to try it on my second test deck. This time, I matched him up with the Furnace building. What a great combo it was.

Whenever the battle started, my favorite opening was the Knight followed by the furnace. The Knight would provide cover for the Fire Spirits coming out of the Furnace.

But whenever I didn’t have the Knight available, I could open up with the Furnace and wait for my opponent’s first move. Leveling up the Furnace to 10 allowed one of the Fire Spirits to hit the opposing tower while the other took hits.

The Valkyrie and the Barbarians also work well in combination with the Furnace when the Knight isn’t available, providing cover for the two Fire Spirits. The Level 10 Arrows worked well against the flying targets in-between the Furnace’s production of Fire Spirits.

The Level 10 Spear Goblins’ awesome speed provided great backup to the muscle, and could also cause immediate damage if allowed over the bridge uncontested. Keeping the Witch for defensive purposes and saving the Elixir worked out well while leaving the majority of the attacks on the other cards.

The Level 11 Minion Hoard gave great reserved defensive power against high health shield card attacks, and the great thing about having the Hoard at Level 11 meant they could withstand the first attack of Arrows by the majority of opponents.

If the opponent was playing the Fire Spirits card, I learned to time the deployment of the Minion Hoard to give me the most time possible for fending off the attacks from the high health shield cards, and most of the time I was lucky to see that this worked.

Moving up the middle levels with this deck was relatively easy, because most of the players have absolutely no strategy and battle sense. This combo pulled a lot of 3-Crown wins whenever I was pitted against the less-than-smart players.

The only vulnerability for this deck is exposed whenever fighting an opponent who understands strategy, where they wait for the first move and then come out with the Wizard. But the best way I would play against the Wizard with this deck was to allow him to cross the bridge before dropping the Barbarians, Valkyrie, or Knight on his head to take him down from the attack and arrow hits from the tower.

I still play this deck to this day, but it’s not as effective in the Elecro Valley arena, where I usually play one of my 3 newer decks. This combo can still rack up a few wins, though!

I’d love to hear your comments about my Classic Battle Deck #2, so chime in! Next post, I’ll be talking about another one of my favorite cards, and how I play it for maximum success. Until then, Clash on.

Carlton Flowers
Royale Clasher Supreme

Clash Royale Zappies - Why I'm Currently Obsessed With Them!

How Zappies Pack Power… When They Are Used Correctly

Before I write my post on my second Clash Royale deck, I have to talk about Zappies first! I’ve been completely obsessed with them for a couple of weeks now, and I will give you the secret of how I use them so successfully.

I was not using Zappies before the last update, before they were “nerfed” (modified in the game where power is reduced). I’ve noticed a lot of negative chatter about Zappies post-update, but I don’t have a problem with it because I wasn’t using them anyway.

I just happened to stumble on them during a draft battle for a Clash war. At first, I thought they were weak. Then I found out how dastardly devastating they can be, IF you use them right…

When you are lucky enough to send out the Zappies with cover up ahead, and they park in front of a tower, the way they deploy an attack is amazing. They will actually alternate electric zaps between enemies and the tower. This is very powerful.

If they have enough cover, they will take down a tower with their continued discharge of electric bolts in short order. I was totally surprised how fast my Level 8 Zappies took down a tower, along with an enemy, while under cover.

The trick is analyzing your opponent’s deck FIRST, and then deploying at the right time when you can allow for their slow movement, and at the most optimum moment when the opposing player has used the cards that will deal them the most immediate damage.

My favorite cover for the Zappies would be the Barbarians. After that, the Witch is next because she can deploy skeletons which provide more cover from the tower’s counter attack while the Zappies are making the trip across the bridge to get close and engage.

I’d love to hear your Zappies strategy and analysis, especially if you’ve been using them before and after the update. Sound off in the comments!

Just a side note, in the future I will be recording battles and sharing videos on the blog. I’m going to be using BlueStacks for my desktop Clash Royale play, or possibly Reflector 3 to project and record the footage from the smartphone. I’d love to hear advice on the best way to capture footage if you’re an expert at this too!

Next up, my #2 deck. Stay tuned!

Carlton Flowers
Clash Royalist Supreme

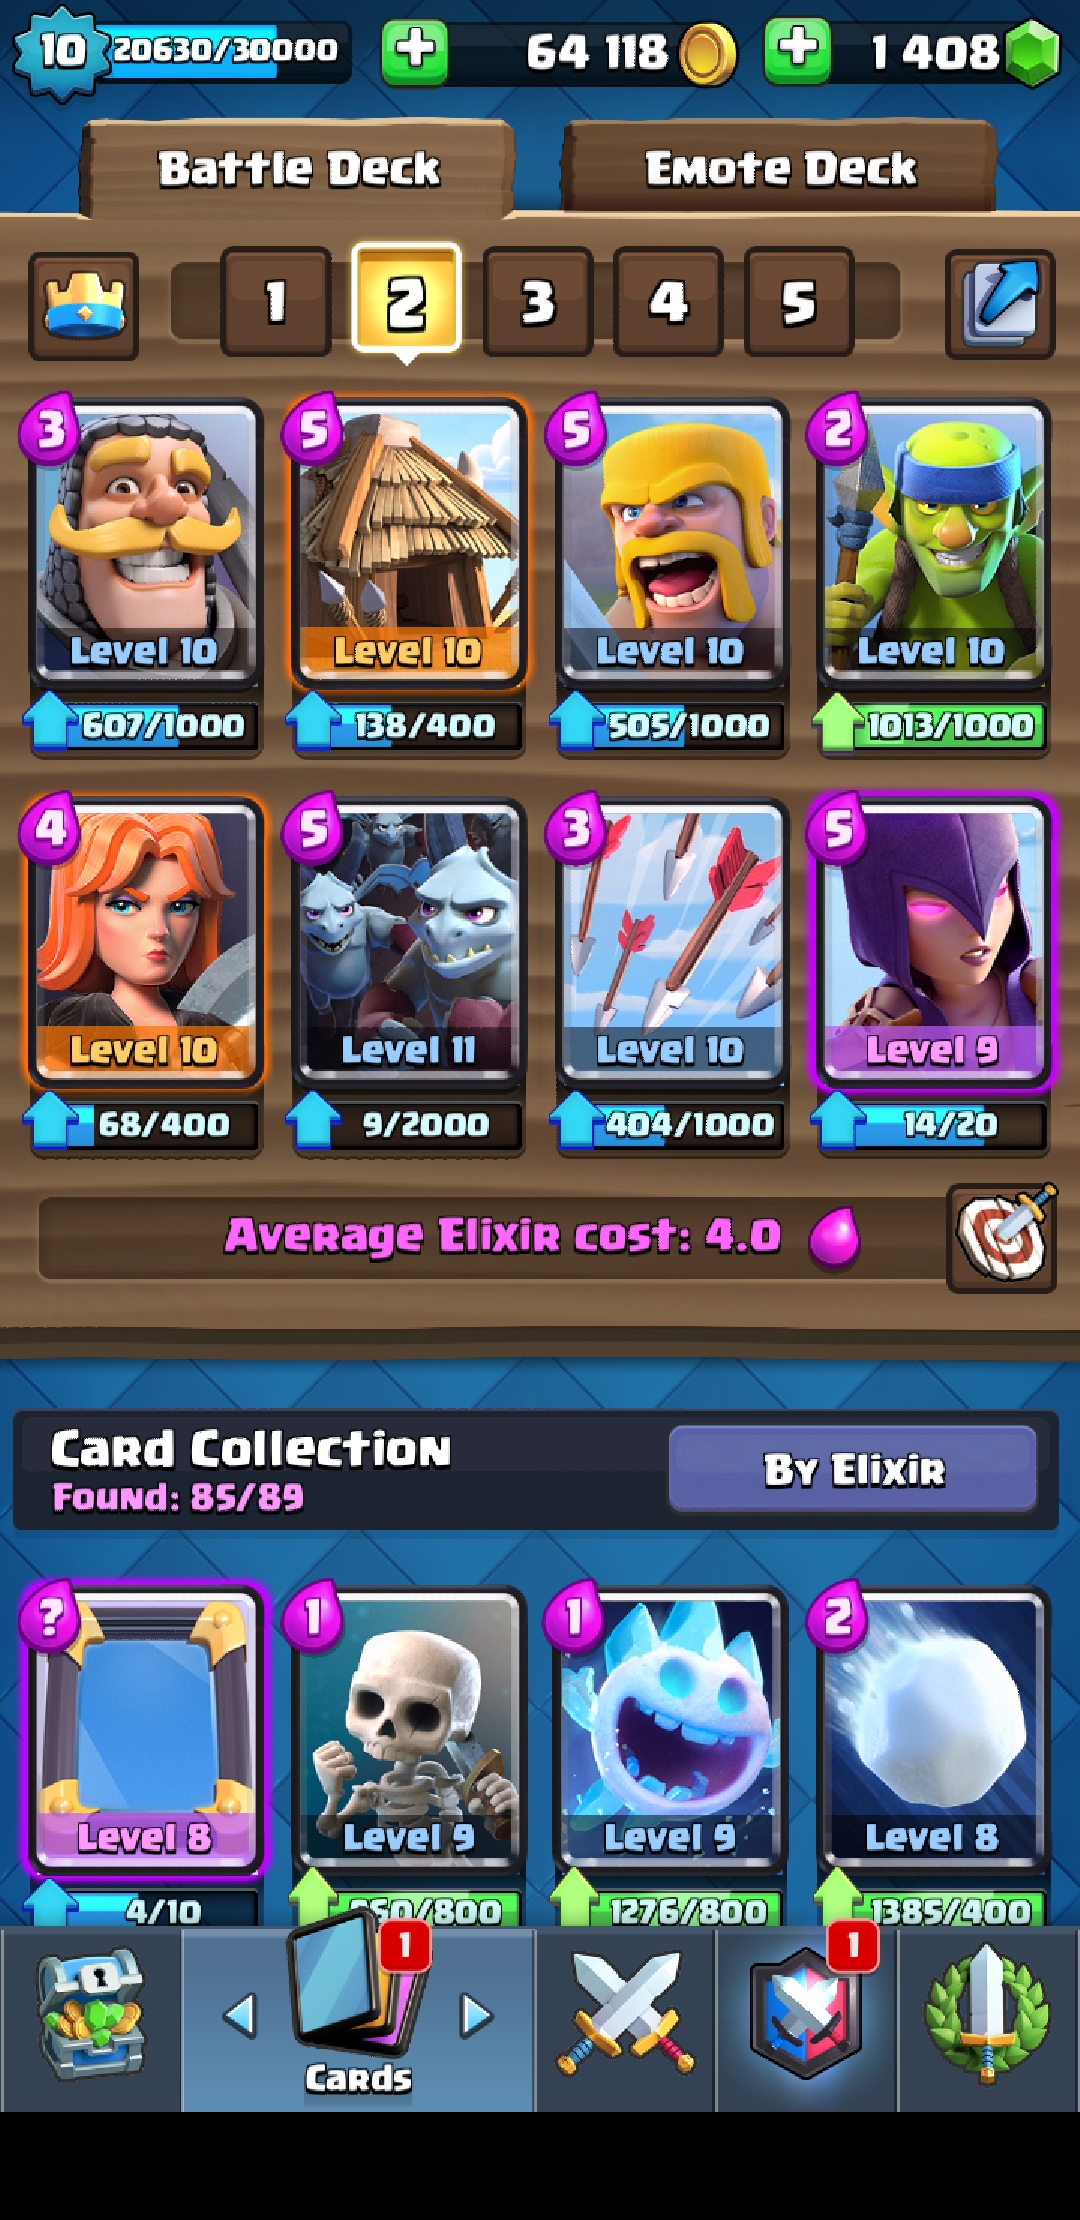
My First Successful Clash Royale Deck - This Started My Dynasty

The Lineup & Strategy That Produced My First Wave of Wins

Deck 2.jpg

This is my first and most successful Clash Royale battle deck. It’s labeled “Deck 2”, but that’s only because I kept this deck in the middle when SuperCell added the ability to have 3 decks rather than one. Of course we now have five, but this is how I got my start!

It took me a little while to get a solid strategy and settle on a winning lineup. But once I did, I got on a roll! This lineup took me all the way through Hog Mountain before I even started experimenting with other decks. I could not be stopped!

Here’s the lineup for my classic Battle Deck:

  1. Knight

  2. Goblin Hut

  3. Barbarians

  4. Spear Goblins

  5. Valkerie

  6. Minion Hoard

  7. Arrows

  8. Witch

As you can see, I’ve got 8 of these at Level 10, one at Level 9, and one at Level 11. But I started this deck from humble beginnings!

Once I started to learn strategy, I was able to use this deck to rip through the arenas in almost unstoppable fashion. I didn’t start hitting a wall until I got deep into Hog Mountain, but I can still consistently win with this deck in Electro Valley.

Battle Deck Strategy

My strategy for this deck is very specific. I ALWAYS start with the Goblin Hut and the Knight, if they are available in the first four blocks. I drop the hut to the left of the right castle, and then the Knight right at the bridge. This way, the Knight provides cover while the Goblins hatch.

One mistake a lot of people make that I have noticed is that they wait for the opponent to make the first move, and then react. I use that against them, especially with this classic deck. While they sit and wait, I drop the Goblin Hut right away, so it can start hatching goblins and creating damage immediately.

If the hut or the Knight are not available in the first shuffle, I would drop the Witch in the lower right corner. The reason is, you give the Witch the time to hatch as many skeletons as possible before she crosses the bridge into battle.

The Arrows guard against air attacks, and the Minion Hoard take down the foes with the highest amount of health. The only danger for the Minion Hoard is the Wizzard’s fire. The Valkerie takes down skeleton hoards, and the Barbarians are great on the attack and also for providing solid defense.

Having the Spear Goblins is a serious advantage, because they are a low-cost option for elixir usage, and they can take down ground and air targets, plus provide a cheap distraction. But the Goblin Hut also provides a good protection to place in front of a tower that is under heavy damage.

No matter how many new characters were released as time went on and the game further developed, I was able to run up a string of W’s with this deck, and I can stymie even the most advanced battle decks with this lineup. It’s not as quick-hitting of a deck, but it has been known to bag a 3-crowner in short order if the shuffle is just right.

Next up will be my second most-favorite deck. It’s got a little fire in it, so that should give you a hint of what is in the lineup! I’d love to hear what you think about my first classic Battle Deck. Drop your comments below and tell me how you have used these classic cards yourself!

Carlton Flowers
Classic Clash Master

The Clash Royale Mini Blog For Enthusiasts Has Begun!

Introducing the CZ Clash Royale Mini Blog

I’ve been an avid Clash Royale gamer (addict) for about a year now, and there isn’t a single day that I don’t sit down and play a few rounds of this game. It has been my favorite and only guilty pleasure when it comes to escaping the stress of the day with gaming.

So it’s about time that I start sharing my adventure as I climb up through the levels of the game, and talk strategy on game play with my fellow Clash Royale enthusiasts! But first, I’ll share my story about how I got started playing Clash.

A few years ago, I discovered Boom Beach. It was my first SuperCell gaming experience. I think I discovered it during the hayday of Clash of Clans. I had tried Clash of Clans, but it just didn’t hold me. There was too much going on in the game, and it took far too long for the game play to develop. That’s when Boom Beach came across my path.

I gave Boom Beach a try, and worked it HARD for an entire year. I was definitely addicted, and I had successfully pulled a few of my friends, coworkers, and family members into the game to participate in group play. But it was my coworker Dave who turned my attention to Clash Royale about a year in to Boom Beach.

At first, I thought Clash Royale looked goofy and simplistic. But after trying it, I appreciated the battle concept without the long, laborious, boring waiting involved with Clash of Clans, and also Boom Beach. A few days of testing it out, and we were hooked.

Dave and I ran up the levels, and turned our attention to Clash Royale and away from Boom Beach. He managed to catch on to game strategy a little faster than I did, and I could not compete with him until several months later. But once I started to catch on to the strategy aspect of the game, we were evenly matched!

Dave dropped off about a year ago, and I continued on playing Clash Royale with laser-like focus, and my interest in the game has not dropped off one iota. In fact, it is higher than it has ever been. And that’s why I’ve decided to start the Clash Royale Mini Blog, and find other rabid fans like myself!

I’ll be curious to see how much attention the mini blog generates, and how many fans I find around the world. Time will tell! But stay tuned, because I’ll be sharing my 5 decks on the next several posts, and you’ll see what my strategy is for each deck!

Back to the battle,

Carlton Flowers
Royale Extreme